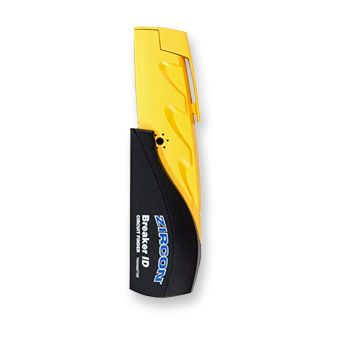
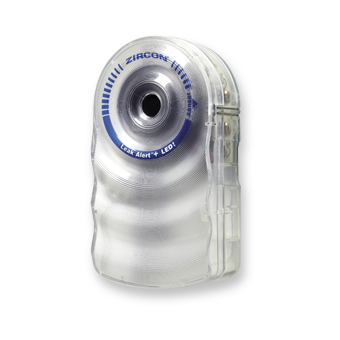
With the screw still off, take the battery cover off and place the tool flat on a table. Carefully take the top case off to reveal the circuit board inside. Make sure everything is aligned correctly and looks square.
Check that the battery spacer (the plastic part with two holes) is sitting in front of the battery contacts. The smaller hole is the “+” terminal and the larger hole is the “-” terminal.
If everything is aligned, place the top case back on. The two tabs at the very top of the case need to be inserted first for the top to fit flush with the bottom case. Make sure all the seams are flushed before replacing the screw.
To check and test the tool’s functionality, insert a brand new 9V alkaline battery with an extended expiration date. Press and hold the Power button with the tool in the air. The green “TruCal” or “Ready” light should come on and nothing else.
Test the tool on your wall.
If you are unsure if you’ve reassembled the tool correctly, please call our product experts at 1-800-245-9265, Monday through Friday, 8:00 AM to 5:00 PM Pacific Standard Time. We’re here to help.
